The first time you put a small telescope on the Moon, the map in your lap seems to describe somewhere else entirely. There is a brilliant rayed crater that is unmistakable in the eyepiece and nearly invisible on the chart. There is a dark oval sea you could swear sits on the left, while the map insists it belongs on the right. None of this means the map is wrong. It means the map is a document with conventions, and nobody handed you the key.
What follows is that key. It covers what lunar coordinates actually measure, where the names come from, and how to make a printed or on-screen map agree with the view through your telescope. Twenty minutes with the points below will save you a whole season of squinting and guessing.
What Lunar Coordinates Actually Measure
Lunar coordinates are called selenographic coordinates, and they work like the ones on a globe. Latitude is 0° at the equator and runs to 90° at each pole; longitude is 0° at a prime meridian and runs east and west to 180° on the far side. The prime meridian runs down the middle of the near side, and the zero point falls in Sinus Medii, the Central Bay, a patch of dark plain near the centre of the disc. The small crater Mösting A, a few degrees south of it, has served as a classic reference mark for anyone measuring positions on photographs.
Because the Moon is tidally locked, the near side's centre sits near 0°, 0° and never moves much. That makes coordinates unusually useful to amateurs: a feature's numbers are a permanent address you can look up before you go outside. A few to memorise:
- Tycho — 43.3°S, 11.4°W. The great rayed crater of the southern highlands.
- Copernicus — 9.6°N, 20.1°W. Bright, complex, and easy to find west of the central meridian.
- Plato — 51.6°N, 9.4°W. A dark, smooth-floored oval on the northern shore of Mare Imbrium.
- Mare Crisium — roughly 17°N, 59°E. The isolated dark sea near the eastern limb.
One number is worth carrying in your head: on the lunar surface, 1° of latitude is about 30 kilometres. That holds everywhere, and it holds for longitude near the equator, shrinking as you approach the poles. Copernicus, at 93 km across, spans roughly 3°. Use that as a sanity check when a map seems to promise a crater bigger than the one in the eyepiece.
Coordinates are most useful when you treat them as a rough filter rather than a precise address. If a chart lists a crater at 70°E, for example, you know it sits close to the limb, where the surface is heavily foreshortened and where the feature may be poorly placed except during favourable libration. If a chart gives a position as 43.3°S, 11.4°W, it is telling you both where to look and what kind of terrain to expect: southern highlands, bright ejecta, long rays. Decimal degrees and degrees-minutes-seconds are both common, so do not be thrown by 43.3°S appearing as 43°18′S on another map. They are the same place, just written in a different shorthand.
Which Way Is East? One Convention and One Mirror
Here is the trap that catches nearly everyone. In 1961 the International Astronomical Union fixed lunar east as the direction of the rising Sun on the Moon, which puts east on the right side of the disc when north is up. The eastern limb is the Mare Crisium limb; the western limb is the Oceanus Procellarum limb. Before that decision, most maps put east on the left, and older books and reprinted atlases still do. If the letter E appears on the left edge of your chart, you are holding an old-convention map. It is not wrong, just speaking a different dialect.
Then there is your telescope. A refractor or Schmidt-Cassegrain used with a star diagonal delivers a mirror image, so east and west swap. A Newtonian or Dobsonian usually shows a rotated view whose orientation changes as you swing across the sky. So the map is only half the problem; the other half is your optical train.
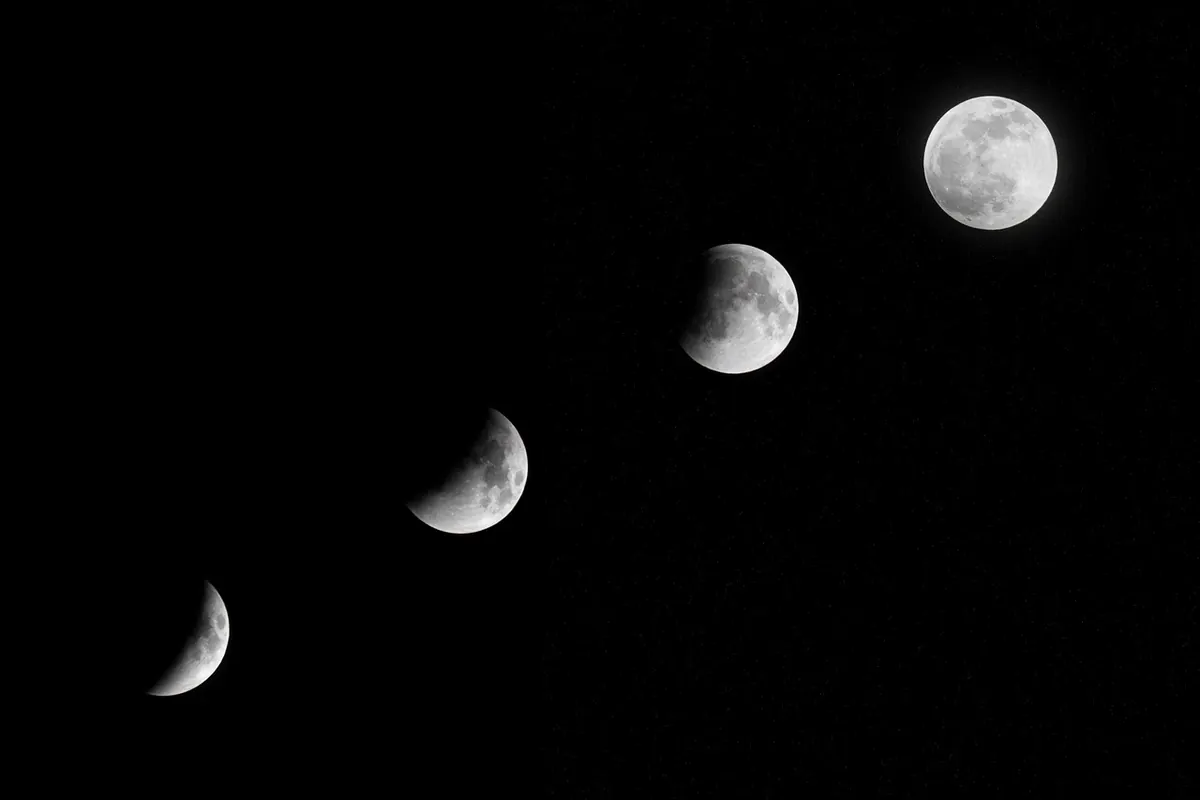
The reliable fix is a physical check rather than a remembered rule. Look at the Moon when it is a crescent. In the northern hemisphere, a waxing Moon has its sunlit limb on the lunar east side, and a waning Moon has it on the lunar west side. Find that bright limb in the eyepiece, then find which edge of the map it corresponds to. If they disagree, your view is mirrored and you should mentally flip the chart — or, more comfortably, print a mirror-reversed copy and keep it with the telescope.
At the eyepiece, orient by the bright limb first; trust the map only after you have matched a familiar feature.
Once the chart is oriented, pick two or three anchor features and ignore the rest for the first few minutes. Mare Crisium is excellent on the eastern side; Mare Imbrium and Plato on the north; Tycho and its ray system in the south. If those match, the map is aligned with the view. If they are swapped left to right, you are looking at a mirror image. If they are upside down, you are probably using an inverting or rotated view. Many observers mark their charts with an arrow labelled “sunlit limb” before going out. It sounds fussy; it saves ten minutes of confusion in the dark.
How Lunar Features Get Their Names
The IAU is the naming authority, and the system is old enough to feel like a folk tradition. Craters generally carry the names of deceased scientists, mathematicians, philosophers and explorers. The dark plains, mapped when astronomers still imagined seas, kept their Latin water-words even after we learned they are flood basalt: Mare Tranquillitatis, Mare Nubium, Mare Frigoris. Mountain ranges borrow from Earth: Montes Apenninus, Montes Alpes, Montes Caucasus, Montes Jura.
Smaller landforms have their own vocabulary, and learning six or seven terms makes a map suddenly legible:
- Rimae — long, narrow rilles or fissures; Rimae Hippalus and Rimae Prinz are good examples.
- Rupes — a cliff or fault scarp, such as Rupes Recta, the Straight Wall in Mare Nubium.
- Catena — a chain of craters, as in Catena Davy.
- Vallis — a valley or long depression; Vallis Schröteri is the most famous sinuous valley on the Moon.
- Mons — a mountain or peak; Mons Pico rises from Mare Imbrium.
- Promontorium — a cape-like projection into a mare, such as Promontorium Laplace.
- Palus, Sinus, Lacus — marsh, bay, and lake, small dark patches with watery Latin names.
You will also see lettered craters: Copernicus A, Plato B, Kepler D. These are satellite features named after the nearest large crater, not separate people. The letters are not always arranged alphabetically around the parent crater, because older maps assigned them in order of discovery or convenience. Modern IAU nomenclature is more systematic, but the old letters remain in wide use. If a chart shows “Kepler A” and “Kepler B,” do not expect them to sit neatly east and west; look them up.
One more naming caution: commercial maps sometimes include informal or obsolete names, and some planetarium software lets you switch between naming systems. When in doubt, use IAU names. They are the common language between charts, observing guides, and the coordinates printed beside them.
Why the Map and Eyepiece Disagree: Lighting and Libration
A lunar map is usually a composite view from directly overhead, assembled from photographs and measurements taken at different phases. The Moon at the eyepiece is a three-dimensional sphere under a moving light. The terminator — the sunrise or sunset line — changes every night. Features near it throw long shadows and look starkly relief-like; features under high Sun look flat and bright. A crater can resemble a deep bowl at quarter phase and a pale spot near full Moon. That is not the map lying; it is the lighting changing the evidence.
Libration adds a second kind of disagreement. The Moon rocks slightly in its orbit, revealing up to about 8° of extra longitude and latitude around the limb. Features that are normally hidden can come into view, and familiar features near the edge can shift noticeably. Mare Orientale, on the western limb, is the classic example: it is barely visible except during favourable librations. If a coordinate points to the limb and the feature is not there, check the libration forecast before assuming you have made a mistake.
The practical consequence is simple. Use the map to identify what should be visible, then use the phase and libration to decide what is actually worth looking for. Near the terminator, hunt for relief: crater walls, mountain peaks, the Straight Wall. Near full Moon, chase rays and albedo contrasts: Tycho’s rays, Copernicus’s bright ejecta, the dark floor of Plato. The same map serves both, but it serves them differently.
A Practical Workflow at the Eyepiece
Here is a repeatable routine that keeps the map and the eyepiece on speaking terms:
- Start with the unaided eye. Find the big maria first — Imbrium, Serenitatis, Tranquillitatis, Crisium. These are your coarse map.
- Check orientation with a known anchor. Use the sunlit limb, Mare Crisium, or Tycho to decide whether the view is mirrored, rotated, or both.
- Match the chart at low power. Identify three or four large features before moving to small ones. Do not start with a 5 km crater.
- Use coordinates as a search grid. Convert degrees to distance when it helps: 1° is about 30 km. If your eyepiece field is half a degree wide, a feature 2° away is several fields over.
- Sketch or log what you see. Note the date, phase, and any libration. A rough sketch fixes orientation in your memory far better than a glance.
- Change magnification only after orientation. Once the map and the eyepiece agree, higher power becomes a tool rather than a confusion.
Keep a notebook, even a few lines per session. Over a month you will build a personal atlas of anchor features and begin to recognise the Moon’s face in any orientation. The map stops being a puzzle and becomes what it should have been all along: a field guide to a place you are learning to visit.
Photo: MasterTux / Pixabay